Arduino Lesson 4 - Mastering Breadboards
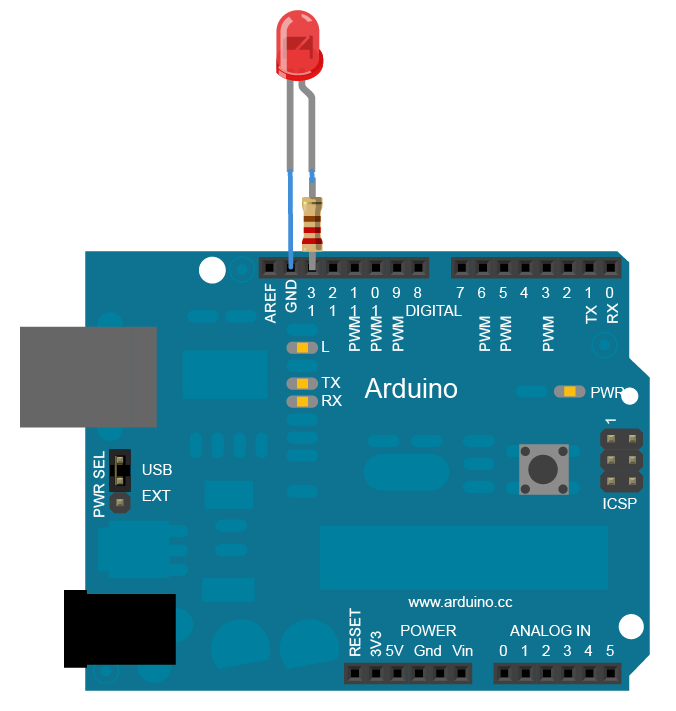
The led's wiring can be found here, you can wire it up using a breadboard, although I have it soldered onto a circuit board because it's easier that way: https://www.arduino.cc/en/uploads/Tutorial/ExampleCircuit_bb.png
The fourth in a series of tutorials to help you understand the basics of breadboard and how build circuits like a pro! the Arduino uno. Are you ready to unlock the full potential of breadboards in your robotics and electronics projects? In this video, we dive deep into the world of breadboards, breaking down their components, how they work, and why they're essential for creating clean, efficient circuits. Whether you're a beginner or looking to refine your skills, this guide will take you step-by-step through practical tips and demonstrations to get you started. Watch now and level up your robotics journey!"
Here is code written in the previous lesson :)
                    int led = 12;
                    int button = 1;

                    void setup() {
                    pinMode(led, OUTPUT);  // e.g.
                    pinMode(button, INPUT);

                    }


                    void loop() {

                    digitalRead(button);

                    digitalWrite(led, LOW);
                    delay(200);    // in ms
                    digitalWrite(led, HIGH);
                    delay(200);

                    }